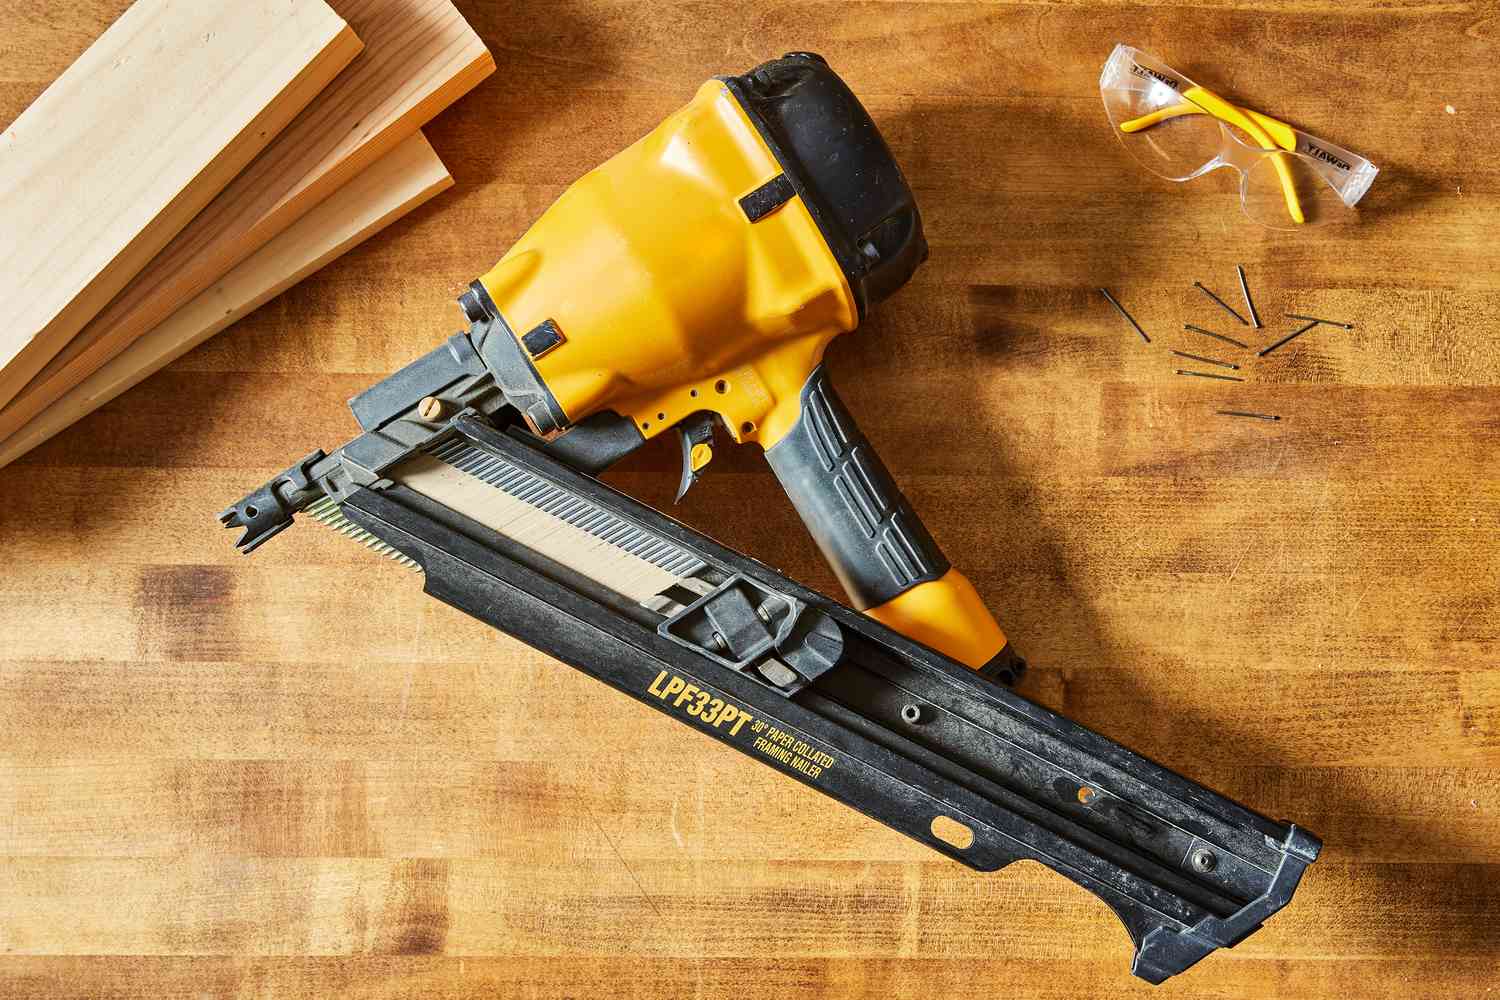
Professional finish carpentry is built on decisions—material selection, fastener choice, technique, and sequencing. Among the most fundamental of these decisions is tool selection. Using the wrong nail gun for a specific application doesn’t just slow you down; it can split wood, leave marks in finished surfaces, and undermine hours of careful work. The finishing trades reward professionals who understand their tools deeply and deploy them with intention. Choosing the correct nail guns for each task is one of those foundational skills that separates competent work from exceptional work.
Why One Nail Gun Is Never Enough
The range of materials and applications in professional finishing work is broad. Crown molding, window casings, door frames, cabinet face frames, hardwood flooring, delicate decorative trim—each of these applications involves different material thicknesses, wood species, and fastener requirements. No single tool handles all of them optimally.
Building a well-matched tool kit, rather than trying to make one nailer do everything, is an investment in both quality and efficiency. Understanding what each nailer type does—and what it cannot do—makes that investment a well-informed one.
Finish Nailers: The Workhorse of Trim Installation
Finish nailers are designed for the full range of standard trim installation tasks. They drive larger gauge nails with enough holding power to secure baseboards, door casings, window trim, crown molding, and chair rails reliably. The nail head is small enough that the resulting hole can be filled and painted over cleanly.
Straight vs. Angled Finish Nailers
Straight finish nailers have a vertical magazine that runs parallel to the body of the tool. They’re compact and easy to maneuver in open areas, making them well-suited for long runs of baseboard and wide casings.
Angled finish nailers position the magazine at an angle relative to the tool body, which shifts the center of gravity and allows the nose of the tool to reach into tighter corners. For interior trim work—particularly at ceiling junctions and inside corner installations—the angled design provides access that a straight nailer simply cannot match.
Both types perform the same function. The choice between them often comes down to the specific demands of the project and the carpenter’s personal preference developed through experience.
Brad Nailers: Precision for Lighter Trim Work
Brad nailers use a thinner gauge fastener than finish nailers. This reduction in fastener size translates directly into reduced splitting risk—a critical advantage when working with thin, narrow trim profiles, delicate wood species, or manufactured wood products that split easily.
The smaller fastener leaves a correspondingly smaller hole, which in some cases requires no filling at all. For painted trim work, this simplifies the finishing process. For stained or natural wood trim, where filler often shows, the small hole a brad nailer leaves is a significant practical advantage.
Brad nailers are particularly useful for cabinet installation, lightweight decorative molding, and securing thin edge banding. They’re not a replacement for finish nailers on heavier trim applications—they lack the holding power for that purpose—but within their appropriate range of tasks, they’re indispensable.
Pin Nailers: The Invisible Fastener
Pin nailers drive headless fasteners so fine that they leave virtually no visible hole. This makes them unique among finishing nailers. In applications where surface appearance is paramount and holding power is secondary, pin nailers are the correct tool.
Their most common use case is holding glued assemblies together while adhesive cures. The pin provides temporary mechanical support; the adhesive provides the permanent bond. For assembling face frame components, installing small decorative trim, or attaching thin overlays, this combination of pin and adhesive produces results that are both strong and virtually mark-free.
Pin nailers are specialized tools. Using them outside their appropriate applications—attempting to secure baseboards or heavy trim with pins, for example—produces inadequate results and frustration. Understood correctly, they’re highly effective.
Flooring Nailers: Built for a Specific Purpose
Flooring nailers exist for a single task: installing hardwood flooring. They drive cleats or staples at the precise angle needed to fasten each plank through its tongue, concealing the fastener while providing secure attachment.
Pneumatic flooring nailers are faster and require less physical effort, making them the preferred option for large flooring installations. Manual flooring nailers—activated by striking a mallet against the tool—are more affordable and don’t require a compressor, which makes them practical for smaller jobs or occasional use.
Attempting to install hardwood flooring with a standard finish nailer produces surface damage and inadequate fastening. The flooring nailer’s specific design is not a refinement—it is a functional requirement for the task.
Roofing Nailers: Not a Finishing Tool, But Worth Understanding
Roofing nailers drive wide-head fasteners for securing shingles and roofing materials. They operate at higher air pressures than finish nailers and are not relevant to interior trim work. Mentioning them here is a matter of clarity: finish carpenters occasionally encounter roofing nailers in shared tool storage, and using one for finish applications would cause immediate surface damage. Knowing what a tool is designed for prevents misuse.
Staplers: A Related Tool With Distinct Applications
Pneumatic staplers are not nailers, but they occupy a similar space in the finishing toolkit. They’re used for securing underlayment, attaching thin panels, and in some flooring applications as an alternative to cleats. Their fastener leaves a wider footprint than a nail, which means they’re not appropriate for visible surface applications. In their correct context, they’re efficient and effective.
Making the Right Selection for Each Project
Evaluating a finishing project before selecting tools is a discipline worth building. Consider the material species and thickness, the visibility of the surface being fastened, the holding power required, and the access constraints of the specific installation location.
For a comprehensive interior trim installation, a finish nailer handles the heavy work, a brad nailer manages lighter profiles, and a pin nailer supports glued assemblies where fastener visibility must be eliminated. Each tool is selected for a specific reason, and the result reflects that precision.
Professional finishing work is cumulative craft. Every decision—including tool selection—either contributes to or detracts from the final result. The professionals who consistently deliver exceptional work are the ones who treat tool selection as carefully as every other element of their process.